Home › Forums › Show & Tell › Restoration of a 1950/51 Arvin 542T: Part 4, the Knobs and Conclusion
- This topic has 3 replies, 3 voices, and was last updated 7 years ago by
Gary Albach.
-
AuthorPosts
-
July 8, 2019 at 2:46 pm #11667
Gary Albach
KeymasterThe set I received had a black tuning knob with a damaged silver centre and was missing the volume control knob. Luckily, I had a similar volume knob on one of my other Arvins, so I was able to use it to make a mold and cast a new knob.
I used Smooth-On OOMOO 30 Tin Cure Silicone Mold Rubber to make the mold. As shown in the first attachment, I placed the donor knob from the other radio upright in the bottom of a cut-off plastic pill bottle and covered it with the silicone mold rubber. The second attachment shows the mold and donor knob removed from the pill bottle and turned over. I removed the donor knob from the mold by making a slit in the side of the silicone as shown in the third attachment.
I cast the new knob using Alumilite White (‘Amazing Casting Resin’), coloured black with a couple drops of Testors black lacquer as shown in attachment #4. Craig Marston of the SPARC museum near Vancouver suggested that I cast the hole in the shaft of the knob using a drill bit covered with Teflon tape to keep it from sticking. This technique is shown in attachment #5. The drill bit makes a nice insert, but I discovered that simply spraying it with the same mold release that I use in the silicone mold (Alumilite UMR) is a bit easier than applying the Teflon tape.
After the casting resin partially hardened, I removed the knob from the mold and pushed it onto the splined shaft of an old potentiometer to cut the internal splines in the knob. (attachment #6)
I repainted the silver numbers and name on the tuning knob and gave it a light spray of gloss lacquer. The volume knob didn’t need the lacquer as the casing resin was already shiny with the black colouring.
The knobs on a Model 542T have domed silver centre sections (‘knob brights’). To make these I first machined round disks of the appropriate diameter from flat, shiny steel hole plugs as shown in attachment #7. To form these flat disks into domes, I machined a domed contour onto the end of a short length of one-inch diameter brass bar stock and used this in a vise to press the steel disks into a piece of soft wood. It worked beautifully, and a final bright is shown in attachment #8.
The brights were attached to the centre of the knobs with ‘household cement’, the inexpensive stuff from a dollar store that still has acetone and MEK in it. Attachment #9 shows the finished knobs.
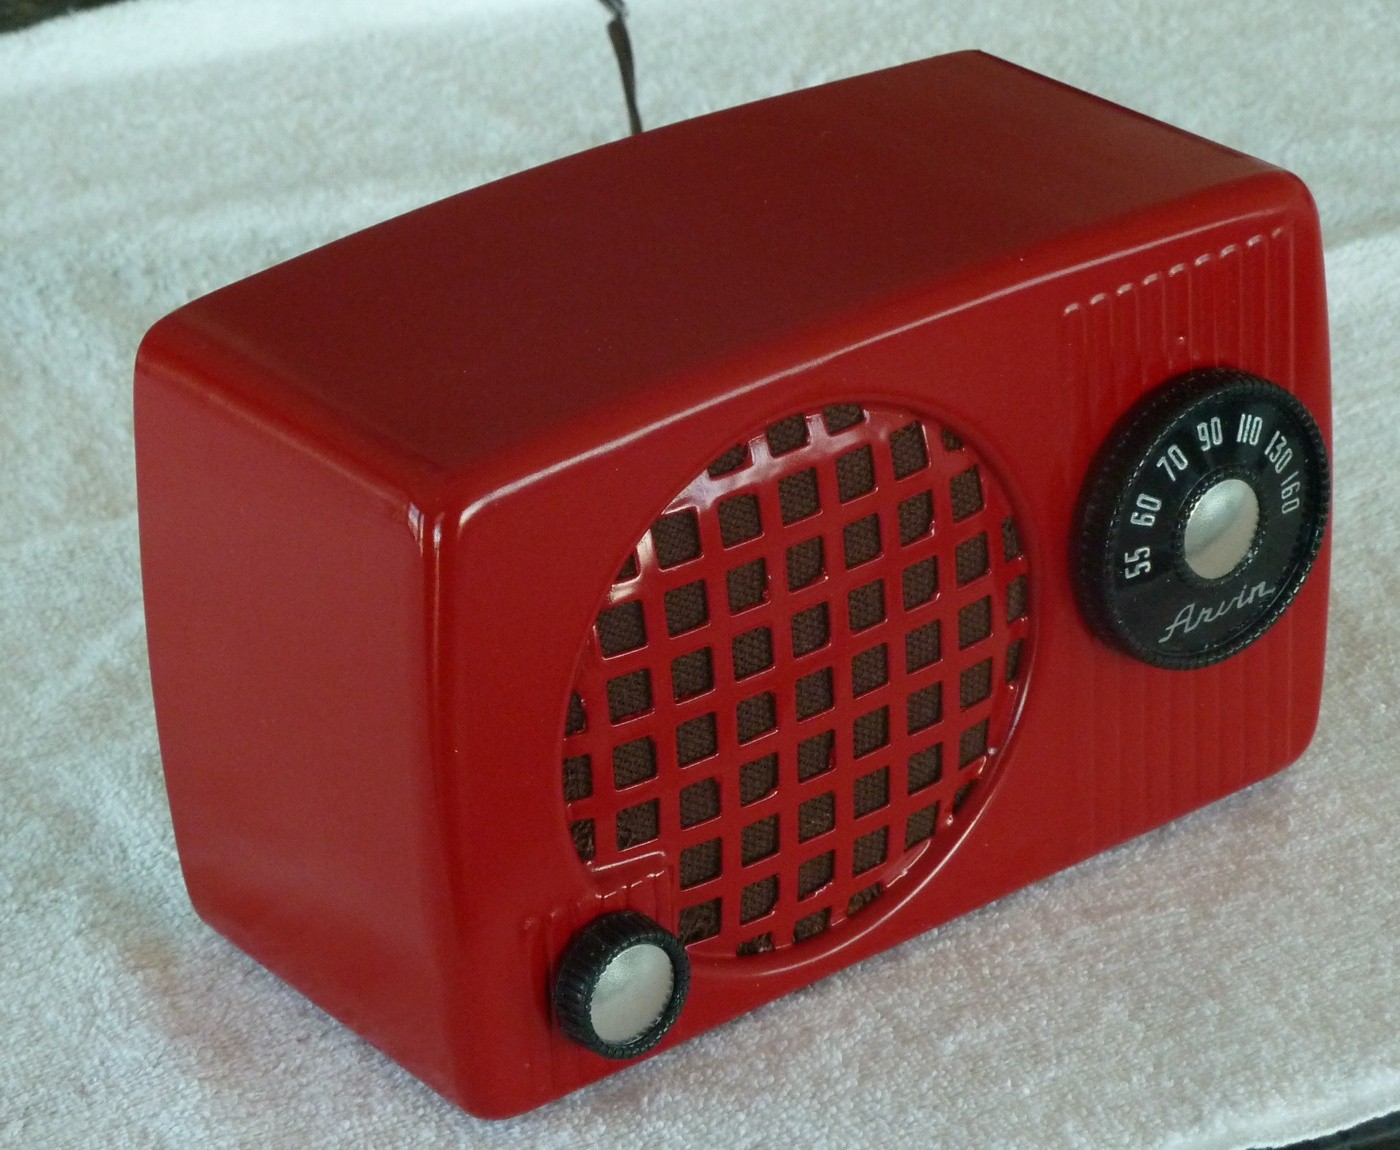
So that’s it. Attachment #10 shows the final working radio with the original grill cloth and new/reconditioned knobs installed. A very satisfying project!
Cheers.
GaryJuly 8, 2019 at 3:03 pm #11677KeymasterForgot that the site can only take 9 pictures at once. Here’s the last one of the finished radio.
GaryAttachments:
July 10, 2019 at 6:54 am #11698Dan Walker
CVRS MemberThat must have take a while to get it all done .
You did a very good job , and I like the finished knob.
Dan in CalgaryJuly 10, 2019 at 10:46 am #11700KeymasterThanks, Dan. Yes, these little table radios are a lot of work that isn’t always apparent. Like remodeling a bathroom – just as much or more work as in every other room, but in a smaller space where everything shows!
Another little Arvin followed me home from a garage sale last weekend, so I’m glad I have the mold to make a missing knob for it as well.
Wish I had your skill in restoring those beautiful wooden cabinets.
Gary
-
AuthorPosts


- You must be logged in to reply to this topic.