Home › Forums › Electronics Restoration › Help me find capacitors
Tagged: can, Capacitors, high-voltage, repair, vintage
- This topic has 14 replies, 7 voices, and was last updated 8 years, 3 months ago by
Don Henschel.
-
AuthorPosts
-
January 24, 2018 at 12:15 pm #9831
HolderAccount
Forum ParticipantHi y’all
first time I post. I searched for my issue in other post but I couldn’t find anything related to my problem. I hope I stay within the rules
I acquired the schematic of the old radio / phono that I’m working on and I couldn’t identify all the capacitor. I want to change them all.
I attach the schematics of the Admiral Y501x that I own, and I had circled the cap. that i’m searching.
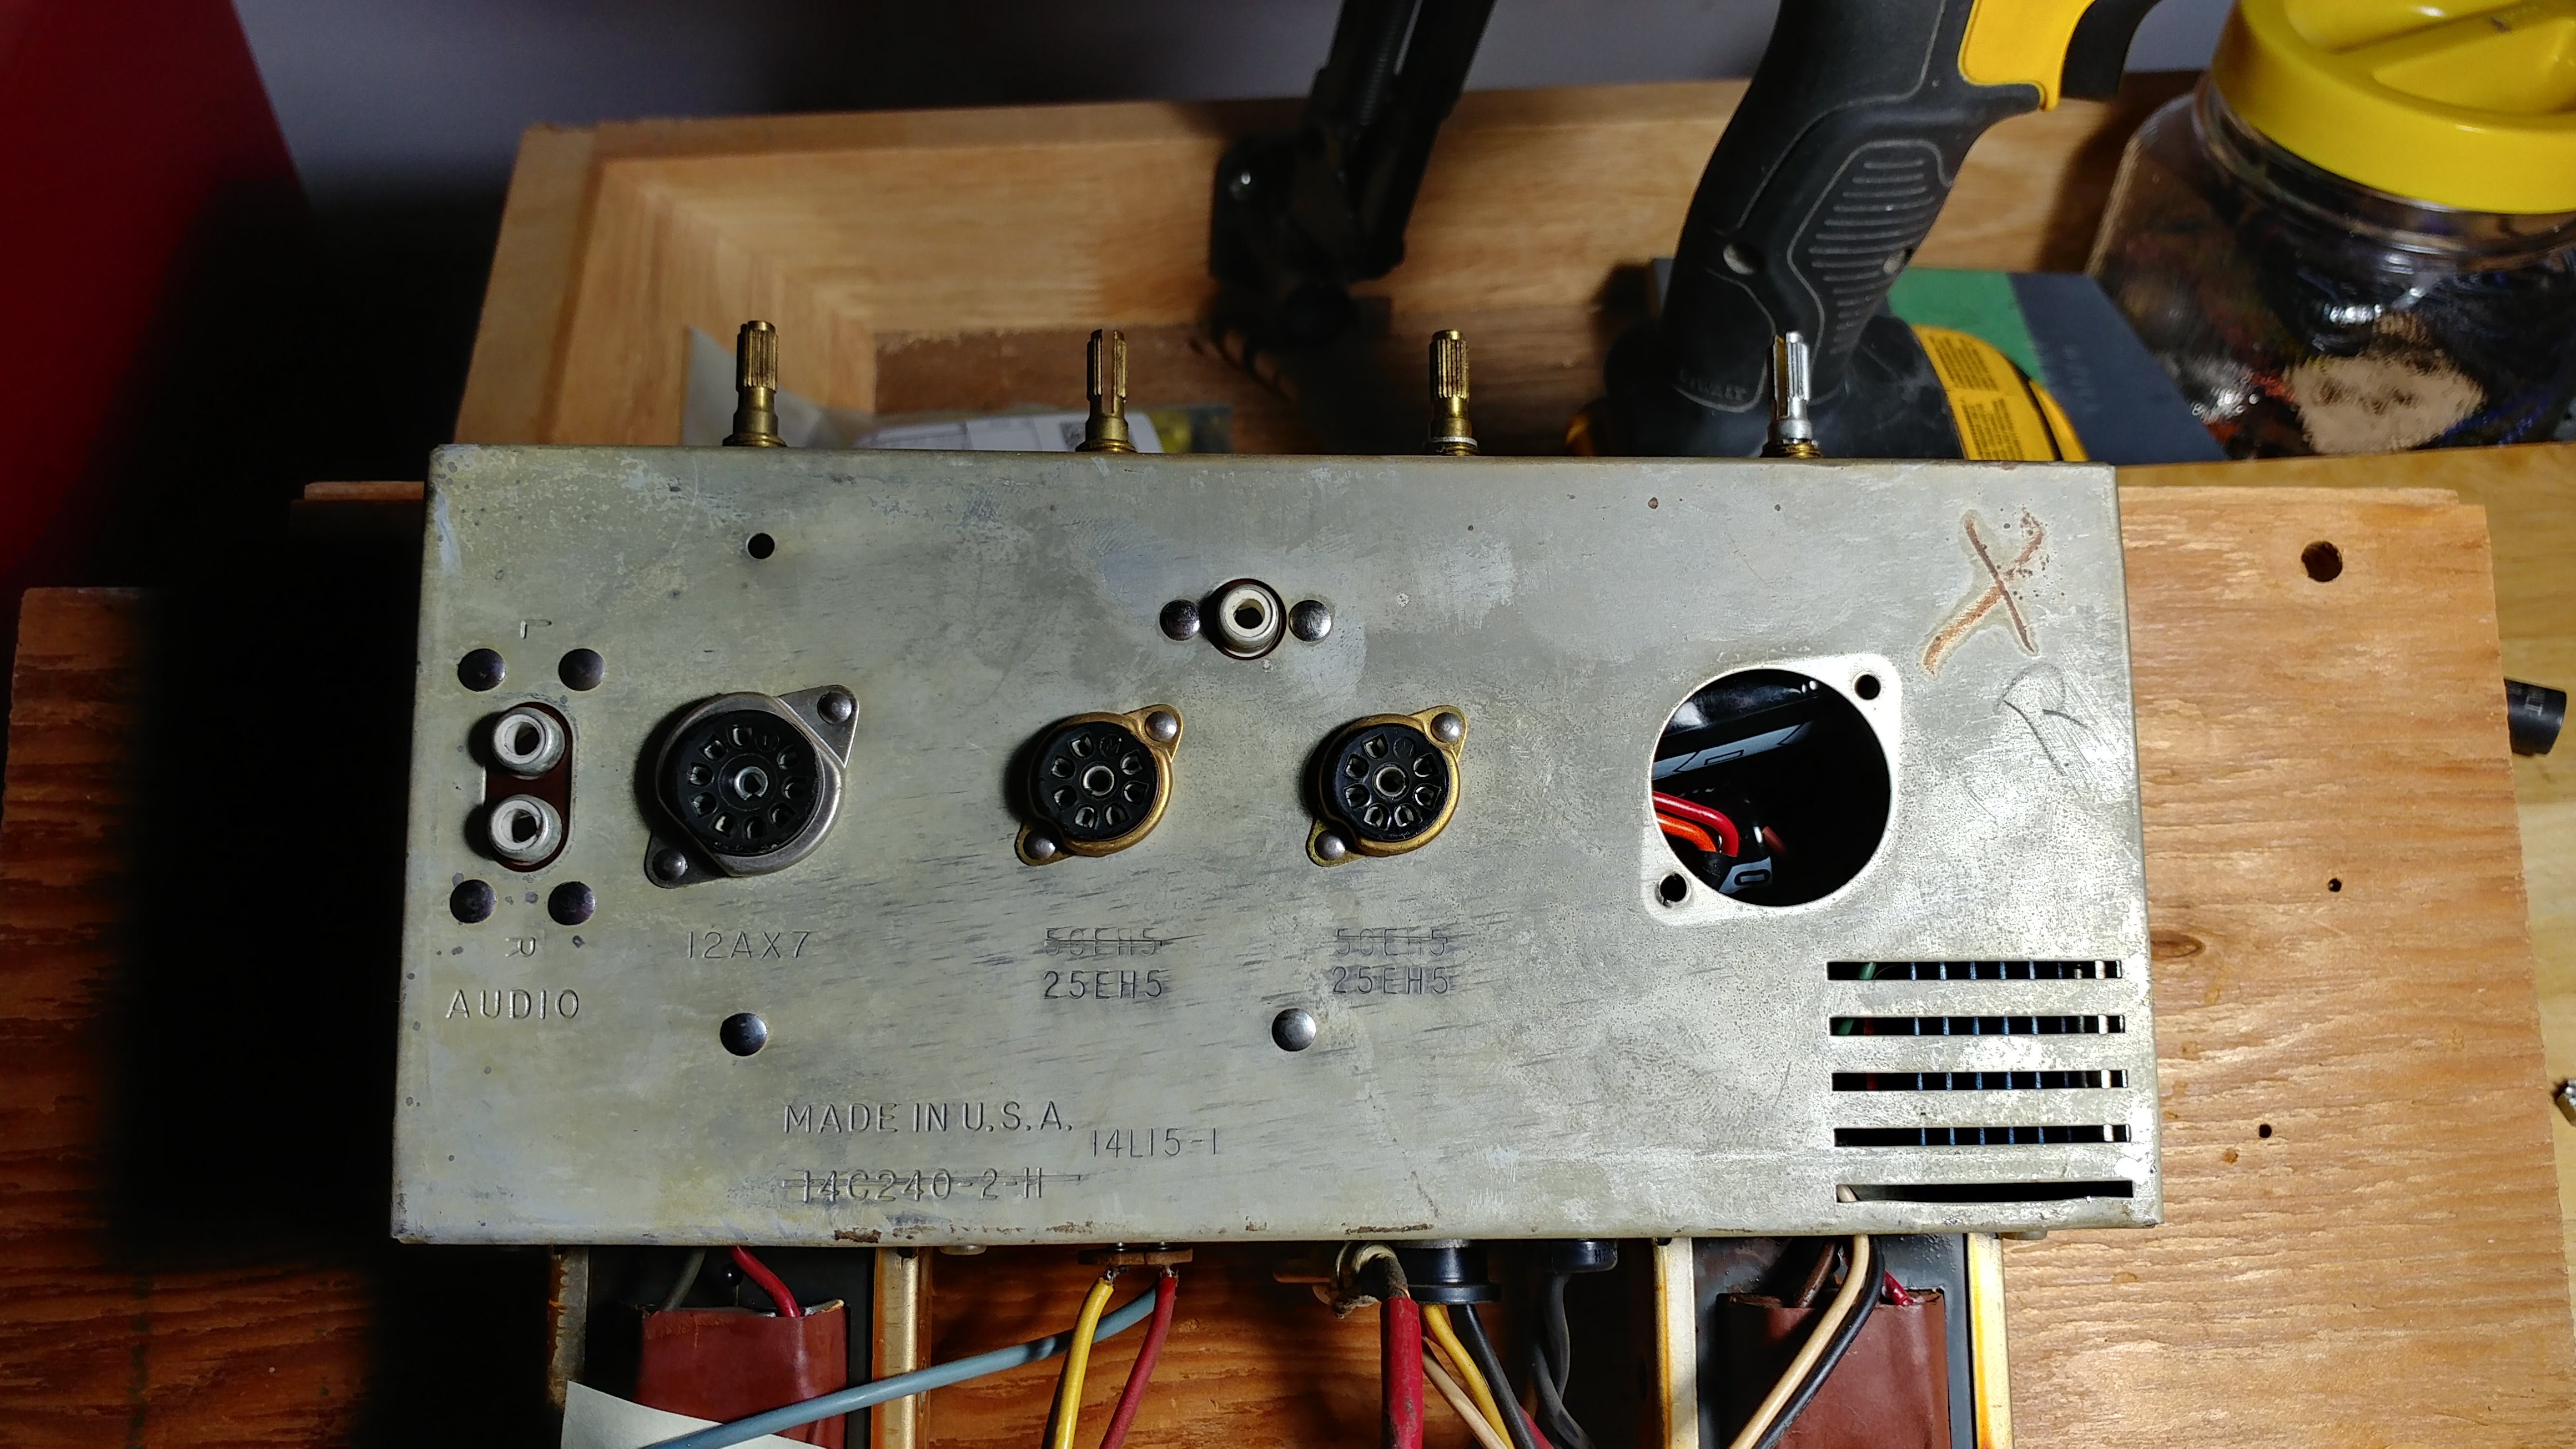
Is it possible that those parts are located in the same cylinder ? (see attached photos) – I’m refering to the black cardboard cylinder with an orange arrow.
this piece has 6 pods under it. Im used to see 2 legs on a capacitor but I’ve never seen something like that. (I built few modern circuits but I’m relatively new to the 60’s era electronics)
could It be the 3 caps that I have circled on the Schematics ?
If so how to kno which legs is one pair ?
and foremost can I still buy that kind of ‘caned’ multiple caps ?sorry that makes a lot of things to ask but im learning while im doing this repair so I have a lot of questioning.
hope someone sees clarity in this.-MAP
January 24, 2018 at 12:18 pm #9836Forum Participantoops forgot to post the last image:
-
This reply was modified 8 years, 6 months ago by
HolderAccount.
Attachments:
January 24, 2018 at 12:31 pm #9839Forum ParticipantHi Marc-Antoine,
The black cardboard cylinder is a multi-part electrolytic capacitor .
From the photos it seems to be a 3 capacitors.
If you carefully check on the outside surface you will 3 geometric marks
normally a square, triangle and a line with a uF value beside each
of these marks. For example:
square=20uf,
triangle=20uf
line=30uf
with a voltage rating (ex:350vdc) for each (or the same for the 3).
And be carefull because it’s a ‘floating’ capacitor
with its common tabs (3 of them with yellow wires) NOT GROUNDED to the chassis !!
So do not clip your testing instruments ground to those tabs but to the chassis.
Good luck !January 24, 2018 at 12:44 pm #9840Forum ParticipantOups..
I did not see your last picture..
You have there a triple electrolytic capacitor which includes:
80uf / 150vdc (replace with 100uf)
50uf / 150vdc (replace with 47uf)
50uf / 150vdc (replace with 47uf)
You will need 3 separate capacitors, for example :
1 x 100uf / 250v https://www.digikey.ca/product-detail/en/nichicon/TVX2D101MCD/493-14839-ND/2539973
2 x 47uf / 250v https://www.digikey.ca/product-detail/en/nichicon/TVX2E470MCD/493-13381-ND/2539989
And remember: the minus leads of the 3 caps are all tied to both yellow wires AND NOT THE CHASSIS.
Hope this hepls youJanuary 24, 2018 at 12:53 pm #9841Forum ParticipantIt helps a lot !!
so just to be clear the terms, minus and common are the same thing (pale stripe on modern Caps ?)
I need to identify which legs are 80 and 50uF but it makes sense.did you notice the 6th leg that aren’t wired to anything ?? this puzzle me a lot. because if its three caps in one it should have 3 pairs of legs, ain’t it ?
its located on the south-west of the circle if you would.January 24, 2018 at 1:06 pm #9842 John GreenlandCVRS Member
Marc;
The reason you do not have 6 leads is that the common or negative of each capacitor is one lead. In this type metal can, it is the can itself.
This results in 4 actual leads. The 3 marked as indicated in a previous email and the can being the negative.Multisectional caps are still available — see here – https://www.tubesandmore.com/search/node/multi?cats%5B0%5D=112
By the way, the chassis of that unit you are working on can be come electrically live at 110/120 volts depending upon how it is connected to the A.C. Be careful.
It is also why the cap is shown in an insulated mount and not a metal one.Hope this helps.
Regards John G. VO1 CATJanuary 24, 2018 at 1:29 pm #9843 Rick DForum Participant
Hello Marc
The info you have been given by the members is correct and the value and the voltage should be stamped on the side
of the cardboard tube with a symbol ,could be a square a triangle and maybe a circle beside each value and voltage .
Look close at the bottom of the three in one cap and you should see the same symbol beside each leg in the middle
of the cap,just match them up with the new cap,if the symbols can,t be seen go back to your schematic to find wich
size of cap goes where,I can see them on your schematic.For the replacement cap I find that Justradios is a good place
to get them ,fair price and quick shipping ,here is the web site address http://www.justradios.com ,if they don,t have
a can three in one cap just leave the old can in and replace with single caps on the under side of the chassis.Marc
remember what Jean said the neg goes to the yellow not the chassis and the positive goes to the centre to the proper
UF,any help needed just post,the fellows here are great and more than willing to help out,all the very best RickJanuary 29, 2018 at 9:53 am #9853Forum ParticipantHi all !
I’m struggling now with another part near the Cap (50/50/80).
I’m confident that it is the CR1 on the schematics. However its color coded as usually a resistor does. I’ve decipher either 1N01A or 1N1018 depending on which chart I’m referring. I couldn’t find those on any electronic parts’ website I know. The part can be located on the schematics near the AC plug on the left. And on my photos as the yellowish burned up part. The clearer pic is named Cap_6_poles.
It is indeed a Diode ? Can it be something else : resistor, capacitor ?On a second topic the Cap that you guys help me identify. How I can test each poles ? I’m not sure which one is the 50 and which is the 80uF. I fear that I don’t own expert tools to test it. I can’t power the circuit other with the AC plug and I don’t know how to test it with my multi-meter. Is there another measurement that I can perform ? If its too complicated i’ll figure it out using the schematic.
I may also start another post regarding a Weird resistor and 3 poles capacitors (?). There is a lot going on on that board.
thank you again for reading, reply and your interest.
good dayJanuary 30, 2018 at 6:22 am #9854Forum ParticipantApparently the diode (CR1) is the blue thing on the right side of the part I was trying to identify.
I now believe that the burnt component is a resistor (1k ohm).
It also test ok at 1k ohm
0_o-
This reply was modified 8 years, 5 months ago by
February 14, 2018 at 1:32 pm #9924Forum ParticipantThere it is I replaced the faulty caps and installed new ones.
I’m stuck with one lesser problem: the look.
There is a big hole uncovered. The reason is that I wouldn’t left a faulty part near new parts and/or solder.
I guess that I could fit back the old part, only it will not be sit on anything. You see, I kinda break the plastic board that it was sit one while I remove the rivet that holds it all. So the only way I see to make it holds there again, its with hot glue or I could make a piece of wood that look like the old one and place it with little screws instead of the rivet.The main question is : is it worth it all the trouble ?
I mean I’ve no interest of selling the cabinet. It may occurs in a far far away future. But what will be its value then ? will it be decreased if the look isn’t preserve in its gut ? there is no way to tell it some parts were replaced from the outside. And even if its visible from the inside. The parts were broken, so it was legitimate to want it replaced.I only wanted to have some thoughts on the matter.
thank you again everyone that took time to help me a bit.
it was huge for me.-
This reply was modified 8 years, 5 months ago by
Attachments:
February 17, 2018 at 7:10 am #9938Dan Walker
CVRS MemberOn your last photo you are showing the place where the capacitor WAS. You could have left it in the radio , so it looks like it is working. It does not make a lot of difference whether you cover the hole up or not. if you come across an old one you could always install it over the hole.
Any very serious collector is not going to want this particular radio, so it does not matter.
I have bought several radios that had the cap can missing, but the part about the hole did bother me sometimes , because before I got the radio [while it was in a shed or barn] mice would get in through the hole and chew up the coils and wires. They will make nests in the radio chassis.
Here is a Rogers 10-12 the way I got it
Dan in Calgary-
This reply was modified 8 years, 5 months ago by
Dan Walker.
Attachments:
February 22, 2018 at 12:37 pm #9941John GreenlandCVRS MemberHi Marc,
If this is of any value to you, send me an email with your mailing address and I will send it to you, so that you can re-install the cap.
If you need a cap, I may have an old one that can not be reformed but will fit the hole.
Let me know.Regards;
John G. VO1 CATAttachments:
February 23, 2018 at 7:58 am #9948Forum Participantthanks for adding you valuable opinion Dan.
I must say im really touched by the offer from you John. This community is the best, how could I survived before ? hahaNevertheless, I fear this plate won’t fit. It has 4 mounting point where my cap can has 3.
I’ll take the time to measure it this weekend but im not sure i’ll be able to use it.best regards,
– mapMarch 1, 2018 at 10:10 am #9951Forum Participantyou can just make one from thin cardboard, then when it’s cut to shape soak it in epoxy. you can use a red pen or red cardboard if you want the color to match, then just use a couple of round head screws with nuts underneath. The epoxy might not be a great insulator but since the cap isnt’ in use it’s just for show.
April 28, 2018 at 11:35 pm #10067Don Henschel
Forum ParticipantI guess if one has a bit of ambition you can become a “stuffer” because the modern capacitors are more compact than the old. Also that cardboard cover probably slides off to reveal a can beneath. Some mention place the replacements underneath but my Marconi in my 1950 Mercury has Octals and the dash is small resulting in very little space below in a tightly crammed chassis, a compact bulky tube radio. Luckily I found a very good used replacement otherwise I would have used a tubing cutter and removed the base and restuffed like a Christmas turkey.
-
This reply was modified 8 years, 6 months ago by
-
AuthorPosts


- You must be logged in to reply to this topic.